


‘Tis the morning after Christmas and all through the house,
Not a creature is stirring, not even a mouse.
The wrappings were strewn all about with great flair,
Now Dad snores loudly in his favourite chair.
The dog is nestled all snug in his bed,
While visions of squirrels dance in his head.
And my son in his PJs, cuddled in my lap,
Has just settled his brain for a long winter’s nap.
When in my mind, there arises such a clatter,
I spring from the couch to try to fix the matter…
After turkey and tinsel, we are all tuckered out,
But now there’s New Year’s dinner to fret about!
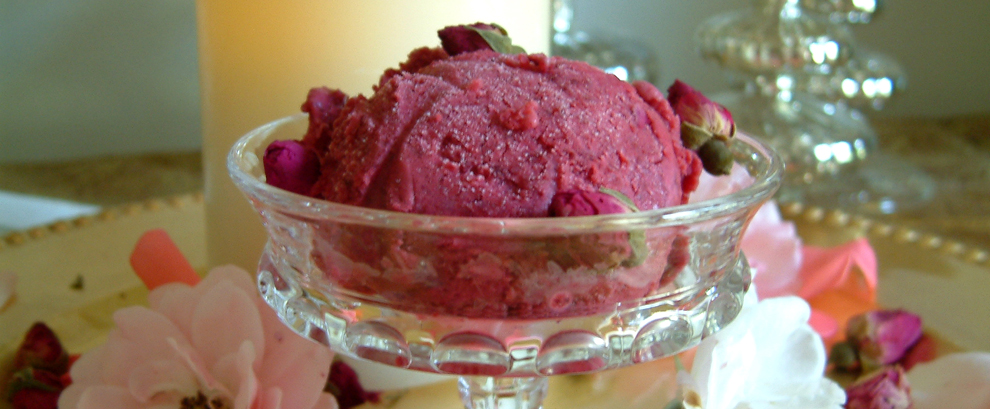
Keep calm and carry on, Olive has got you covered:
Roasted Beef Tenderloin with Red Wine Drizzle and Thyme Roasted Potatoes
I served this menu one year for my cherished bro and his dear family when we gathered around his cottage dinner table a couple of days before Christmas. The meal was easy, flavourful, and festive. My son thrilled to be surrounded by his cousins; my brother cracking all of us up with his incredible sense of humour; me, happy to be at his side…the evening forever sings in my heart. Consider splurging a little and serving this festive feast to your loved ones to celebrate the New Year. Wishing you a healthy and happy 2014.
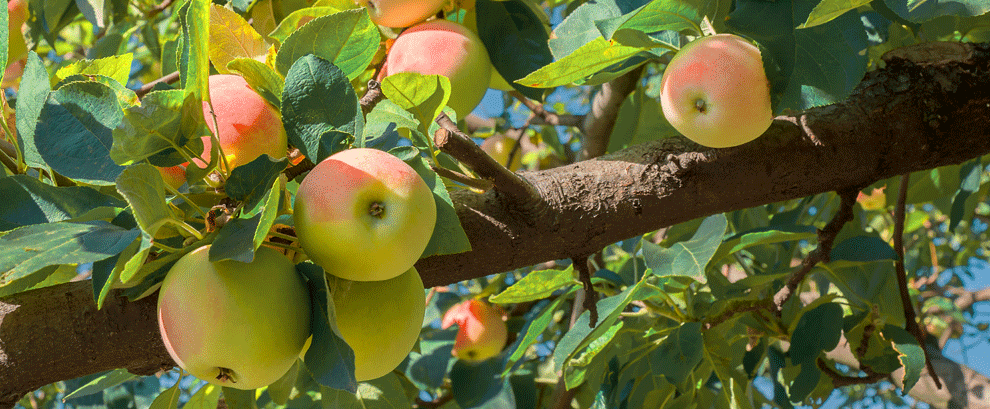
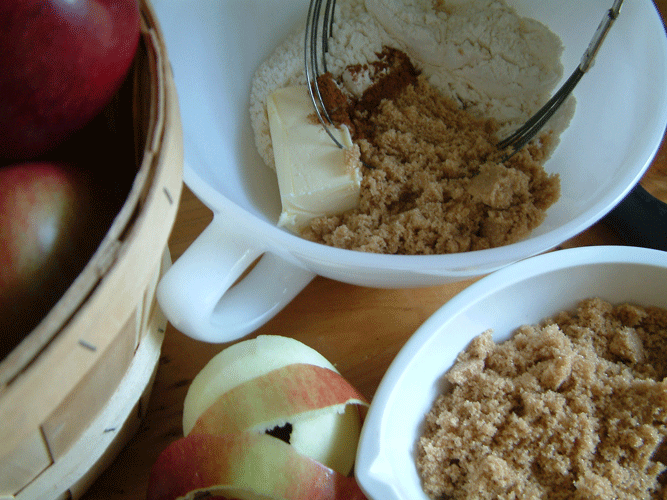
A festively-coloured trio of vegetables made this menu extra special. Laura Calder’s Thyme Cream Tomatoes (from her Buckwheat Crêpes with Thyme Cream Tomatoes recipe) are simple yet sublime. I learned from Ricardo how to sauté frozen peas (straight from the freezer) in a few tablespoons of butter or olive oil, and then season with salt (sorry, can’t find his recipe anywhere on his site but that’s all there is to it). And of course, I served my brother’s favourite Sweet-Sour Purple Cabbage with Apples (which I made ahead and froze).
We started out with a recipe for the beef tenderloin but felt it needed tweaking, so Jane winged it from there; it turned out beautifully but of course, we didn’t write it down. Since then, I’ve tested a few recipes, selected what I liked from them, and combined them into this recipe.
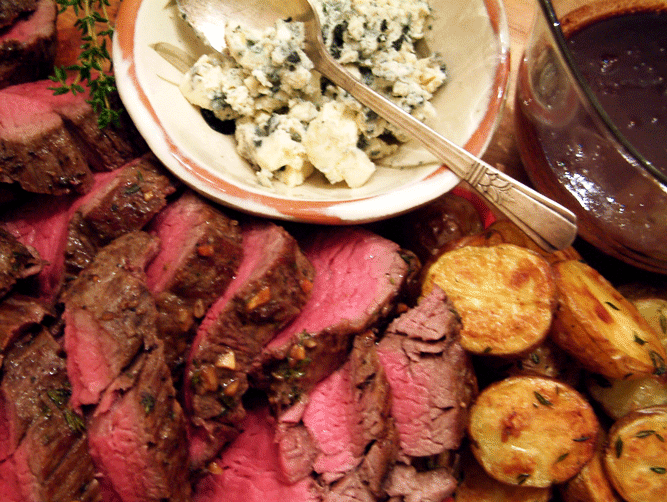
Roasted Beef Tenderloin with Red Wine Drizzle and Thyme Roasted Potatoes
Serves 4 to 6
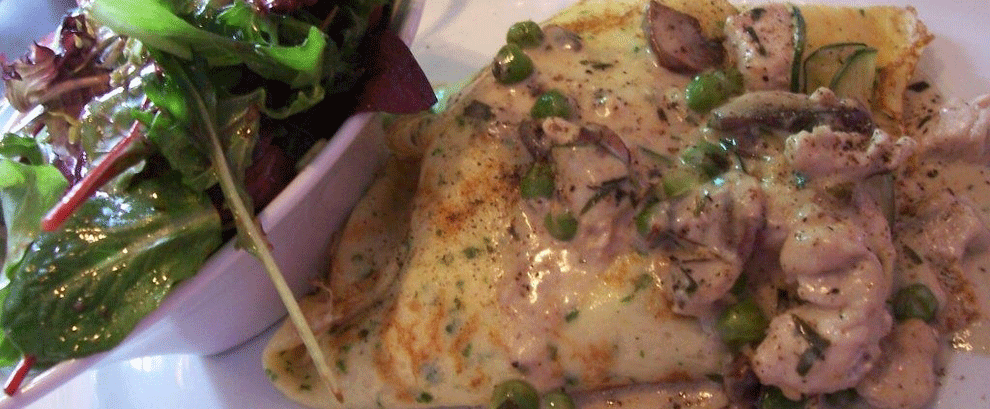
This meltingly tender yet flavourful beef tenderloin drizzled with a red wine and beef stock reduction is wonderful served with some crumbled blue cheese on the side and Thyme Roasted Mini Potatoes.
Get the potatoes in the oven first and then prepare the beef; remove the potatoes from the oven when done and let them rest at room temperature. When the beef has finished cooking, return the potatoes to a 250°F oven to warm up while the beef has a good long rest.
Thyme Roasted Potatoes
Ingredients:
3 lbs. mini Yukon Gold potatoes
2 tablespoon olive oil, divided
1 teaspoon coarse salt, divided
3 teaspoon chopped fresh thyme, divided
Directions:
- Place both oven racks in middle of oven, leaving enough room between to fit a tray of potatoes. Preheat oven to 375°F.
- Cut potatoes in half; divide evenly between two parchment-lined, rimmed baking trays. Divide oil, salt, and thyme evenly between both trays; toss on potatoes, turning with your hands to coat evenly. Arrange potatoes cut side down and evenly spaced out on trays.
- Place one tray on each oven rack; bake until tender and cut side is golden brown, about 25 to 30 minutes, rotating trays between both racks after 15 minutes.
Roasted Beef Tenderloin with Red Wine Drizzle
Butcher Bob at Burton Meats (Dundas St. location) sold me a superb beef tenderloin. He recommended that I sear the tenderloin first, and then cook it at a lower temperature of 375°F (contrary to many recipes that instruct the beef to be cooked at 450°F). He was right; it was so tender that I actually could cut it with a fork. Be sure to buy the No Salt Added beef broth (even low sodium will be too salty).
Ingredients:
1 whole beef tenderloin 3-lbs
Coarse salt to taste
Freshly ground black pepper to taste
1 tablespoon olive oil
Rub:
1 teaspoon white sugar
2 cloves garlic, finely minced
1 tablespoon chopped fresh thyme
1 tablespoon Dijon mustard
1 tablespoon low sodium soy sauce
3 tablespoons butter, softened
Drizzle:
1 ⅓ cup good red wine
1 tablespoon tomato paste
⅔ cup Campbell’s No Salt Added Beef Stock or homemade beef stock
1 tablespoon butter
Accompaniment:
Crumbled mild, creamy blue cheese and/or horseradish
Directions:
- Preheat oven to 375°F. Season beef lightly with coarse salt and generously with freshly ground black pepper.
- Heat oil in a large non-stick skillet over medium heat; when oil is hot, sear beef on all sides until evenly browned, about 1½ minutes to 2 minutes per side. Place meat on a rack in a roasting pan that can also be used on stove top.
- In a small bowl, combine Rub ingredients; spread evenly over meat. Insert an oven-proof thermometer in middle of tenderloin; roast until thermometer reads 130°F, about 25 minutes (it will continue to cook as it rests) – the end result will be medium-rare, slightly on the rare side.
- When beef is cooked as desired, carefully remove roasting rack and beef to a rimmed baking sheet while protecting your hands and any surfaces that come in contact with the hot rack (you want the meat to rest on the rack and not a flat surface); tent loosely with foil to keep warm; let rest for at least 20 minutes.
- Meanwhile, drain fat and any clumps from roasting pan. Place roasting pan on stove over medium heat. Add wine to pan; deglaze pan with wine, scraping any brown bits on bottom of pan with a wooden spoon to incorporate into sauce. Simmer rapidly over medium heat, stirring constantly so garlic doesn’t burn until reduced, about 5 minutes. Add tomato paste to pan; cook, stirring constantly, for 1 minute. Add beef stock; simmer rapidly, stirring frequently until reduced by half and thickened, about 4 minutes. Remove pan from heat; whisk in butter, stirring until fully incorporated.
- Slice beef thickly and serve immediately with sauce and accompaniments.


Still hungry? Follow my posts and find lots more Olive on: